Chicken Yakhni Roast
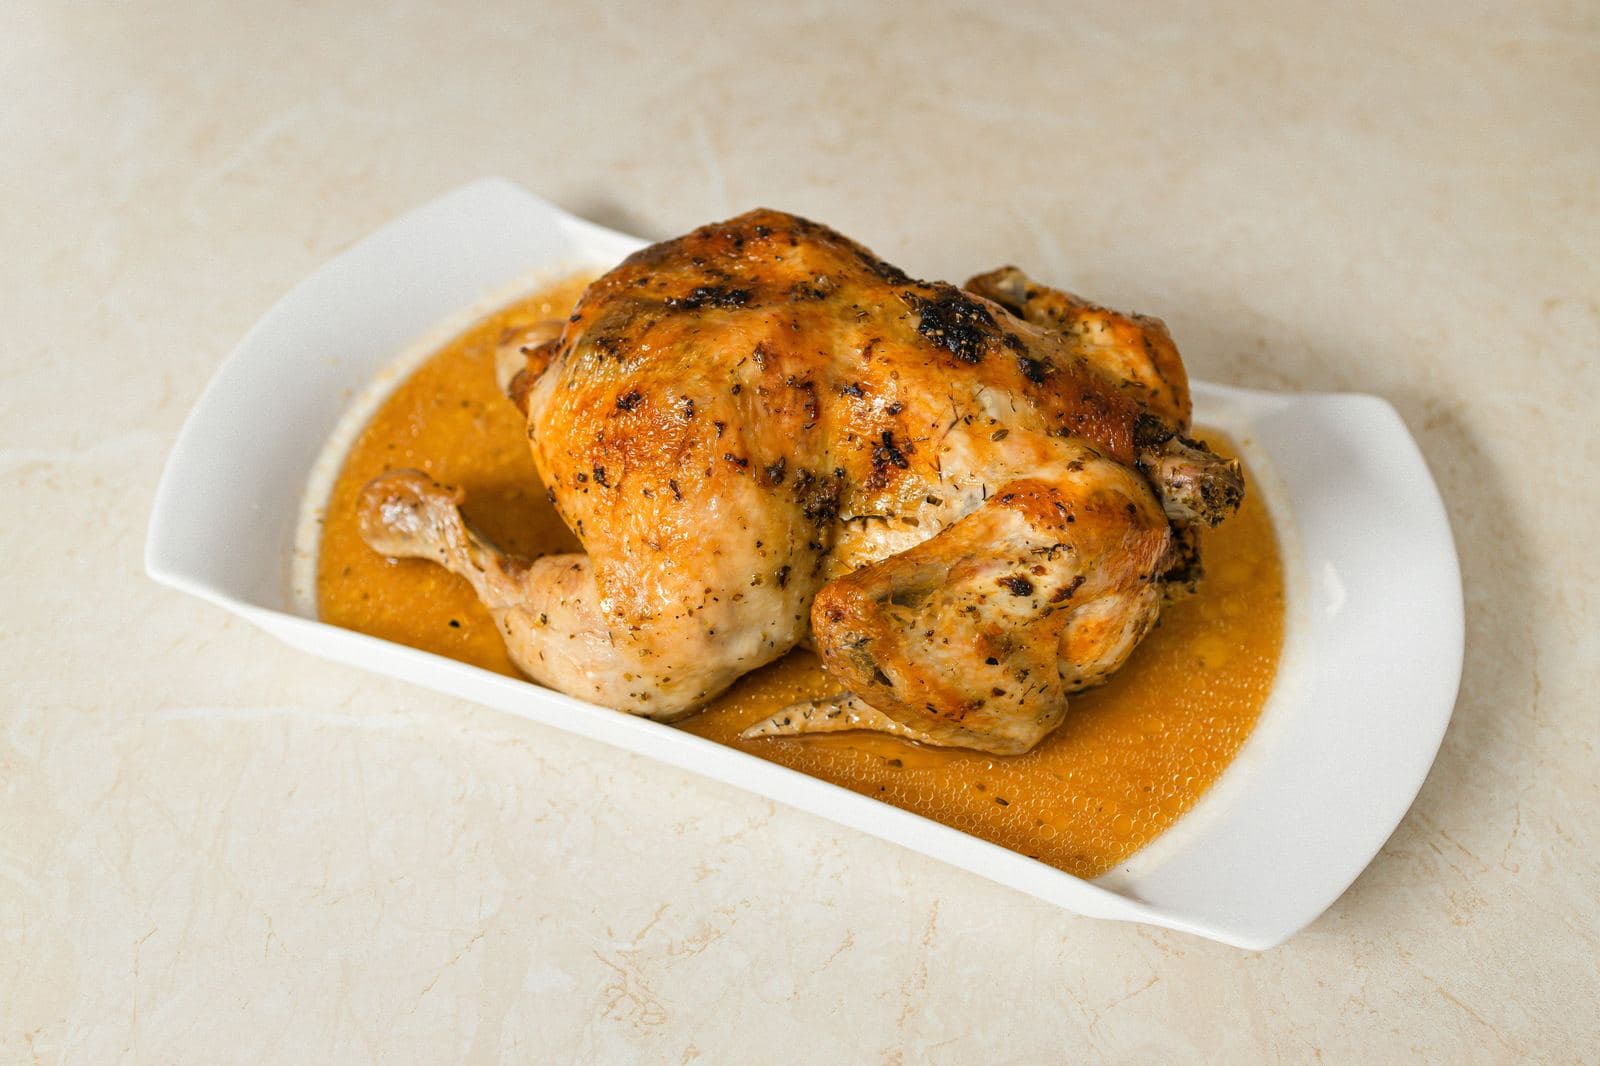
A whole chicken first boiled to save a flavorful broth, then coated in a yogurt-based marinade and roasted until golden, served with its own peppered broth on the side.
By Steak House Diaries Poultry Desk | Published | Updated
About this recipe
Boiled, marinated and roasted whole chicken, served with its own peppered broth.
It falls under our Chicken collection and is tagged chicken, yakhni, broth, roast chicken. Read the tips and substitutions below the recipe card before you start, and scan the ingredients first so nothing surprises you mid-cook.
Chicken Yakhni Roast
https://www.steakhousediaries.com/recipes/chicken-yakhni-roast
- Prep
- 20 min
- Cook
- 1 hr 15 min
- Total
- 1 hr 35 min
- Servings
- 1 whole chicken, serves 4
- Difficulty
- Medium
Ingredients
For the chicken
- 1 whole chicken, cleaned
- 4 to 5 cloves garlic
- 1 small piece ginger
- 2 to 3 green chilies
- 1 teaspoon salt
- 1 teaspoon black pepper
- ½ cup plain yogurt
- 1 to 2 tablespoons lemon juice
- 1 tablespoon sauce of choice
- Fresh coriander, mint or other green herbs
- Water, enough to boil the chicken
For the yakhni
- Saved chicken broth
- Salt, to taste
- ½ teaspoon black pepper
Equipment
- Large deep pan
- Fine strainer
- Roasting tray
- Instant-read thermometer
Instructions
Step 1: Prepare the chicken
Clean the whole chicken thoroughly. Using a sharp knife, make several deep cuts across the chicken so the marinade can penetrate properly. Do not cut the chicken into pieces.
Step 2: Boil the whole chicken
Place the entire chicken into a large deep pan. Add enough water around it and bring it to a boil. Cook until the chicken is tender and cooked through.
Step 3: Save the yakhni
Carefully remove the whole chicken from the pan. Strain the remaining broth and keep it separately in a bowl.
Step 4: Make the marinade
Mix together ginger, garlic, green chilies, salt, black pepper, fresh green herbs, yogurt, lemon juice and sauce into a smooth, flavorful marinade.
Step 5: Marinate
Coat the entire boiled chicken generously with the marinade, making sure it goes deep into all the cuts.
Step 6: Roast
Place the whole marinated chicken on a roasting tray and roast in a preheated oven until the outside is beautifully golden-brown with slightly charred edges and the chicken is heated through.
Step 7: Prepare the yakhni
Heat the saved chicken broth. Add a little salt and black pepper, stir well, and serve it hot in a small bowl alongside the roasted chicken.
Step 8: Why boiling first makes both the chicken and the broth better
Boiling a whole chicken before roasting it can look like an extra step, but it is the step the whole recipe is built on, and it does two jobs at once. First, it cooks the chicken gently and evenly all the way through. A whole bird in a pot of water heats from every side at the same time, so there is no raw centre and no dried-out edge the way there can be with direct heat alone. The recipe says to boil gently rather than at a rolling boil, and that matters: a hard boil tosses the bird around, tears the skin, and tightens the meat until it turns tough, while a gentle simmer keeps it tender. Second, the boiling liquid becomes the yakhni. As the chicken cooks, its flavour moves into the water, and that water — strained and seasoned with salt and black pepper at the end — is served alongside the roast as its own dish, not thrown away. That is why the recipe is so careful about keeping the chicken whole and making deep cuts without cutting it into pieces. The deep cuts let the yogurt marinade reach into the meat after boiling, so the second stage of cooking is about flavour and colour, not about getting the inside cooked. The yogurt, ginger, garlic, green chilies, lemon juice and herbs coat the boiled bird and go deep into every cut, and then the roast is really a finishing step: the outside turns golden-brown with slightly charred edges while the inside simply heats through. Because the chicken is already cooked, the roast does not need to be long, which is what keeps it from drying out. The one thing to get right is the final temperature check. Even though the chicken was boiled and then roasted, the recipe still asks you to confirm the thickest part reaches 165°F (74°C) before serving, and that check is the safety net for the whole method. Serve the yakhni hot in a small bowl next to the chicken, and keep the two separate in storage as well — refrigerated in airtight containers, both keep for up to 3 days, and the yakhni reheats in a small pot over low heat while the chicken warms covered in the oven.
Cooking tips
- Don't discard the boiling liquid; it's the base of the yakhni and carries most of the chicken's flavor.
- Boil gently rather than at a rolling boil so the chicken stays tender rather than tough.
Storage and reheating
Storage: Refrigerate chicken and yakhni separately in airtight containers for up to 3 days.
Reheating: Reheat chicken in a 350°F (175°C) oven, covered, for 10 minutes. Warm the yakhni in a small pot over low heat.
Ingredient substitutions
- Swap plain yogurt for a thin buttermilk if that's what you have on hand.
Nutrition information
Approximate values per serving, estimated from typical ingredient data. Results vary with brands and portions; this is not medical or dietary advice.
| Calories | 420 |
|---|---|
| Total fat | 22 g |
| Saturated fat | 6 g |
| Carbohydrates | 6 g |
| Fiber | 1 g |
| Sugar | 3 g |
| Protein | 46 g |
| Sodium | 780 mg |
Frequently asked questions
Is it safe to eat chicken that was boiled and then roasted?
Yes. Because the chicken is boiled first and then roasted, confirm the thickest part reaches 165°F (74°C) internal temperature before serving.
Can I skip the boiling step?
The boiling step is what makes the yakhni broth and gives the chicken its tender texture, so it's central to this recipe. For a simpler roast, see our Juicy Oven-Roasted Chicken.
Why strain the broth instead of serving the boiling liquid as it is?
Straining removes loose bits and gives you a clean, clear yakhni that is pleasant to sip. The flavour stays in the strained broth; what you remove is only the cloudy residue, not the taste.
Can I make the yakhni richer before serving?
Yes. After straining, let it simmer gently for a few extra minutes so it reduces slightly and the flavour concentrates, then season with salt and black pepper as the recipe directs. Do not boil it hard, or it will turn cloudy again.
Related recipes
 Chicken
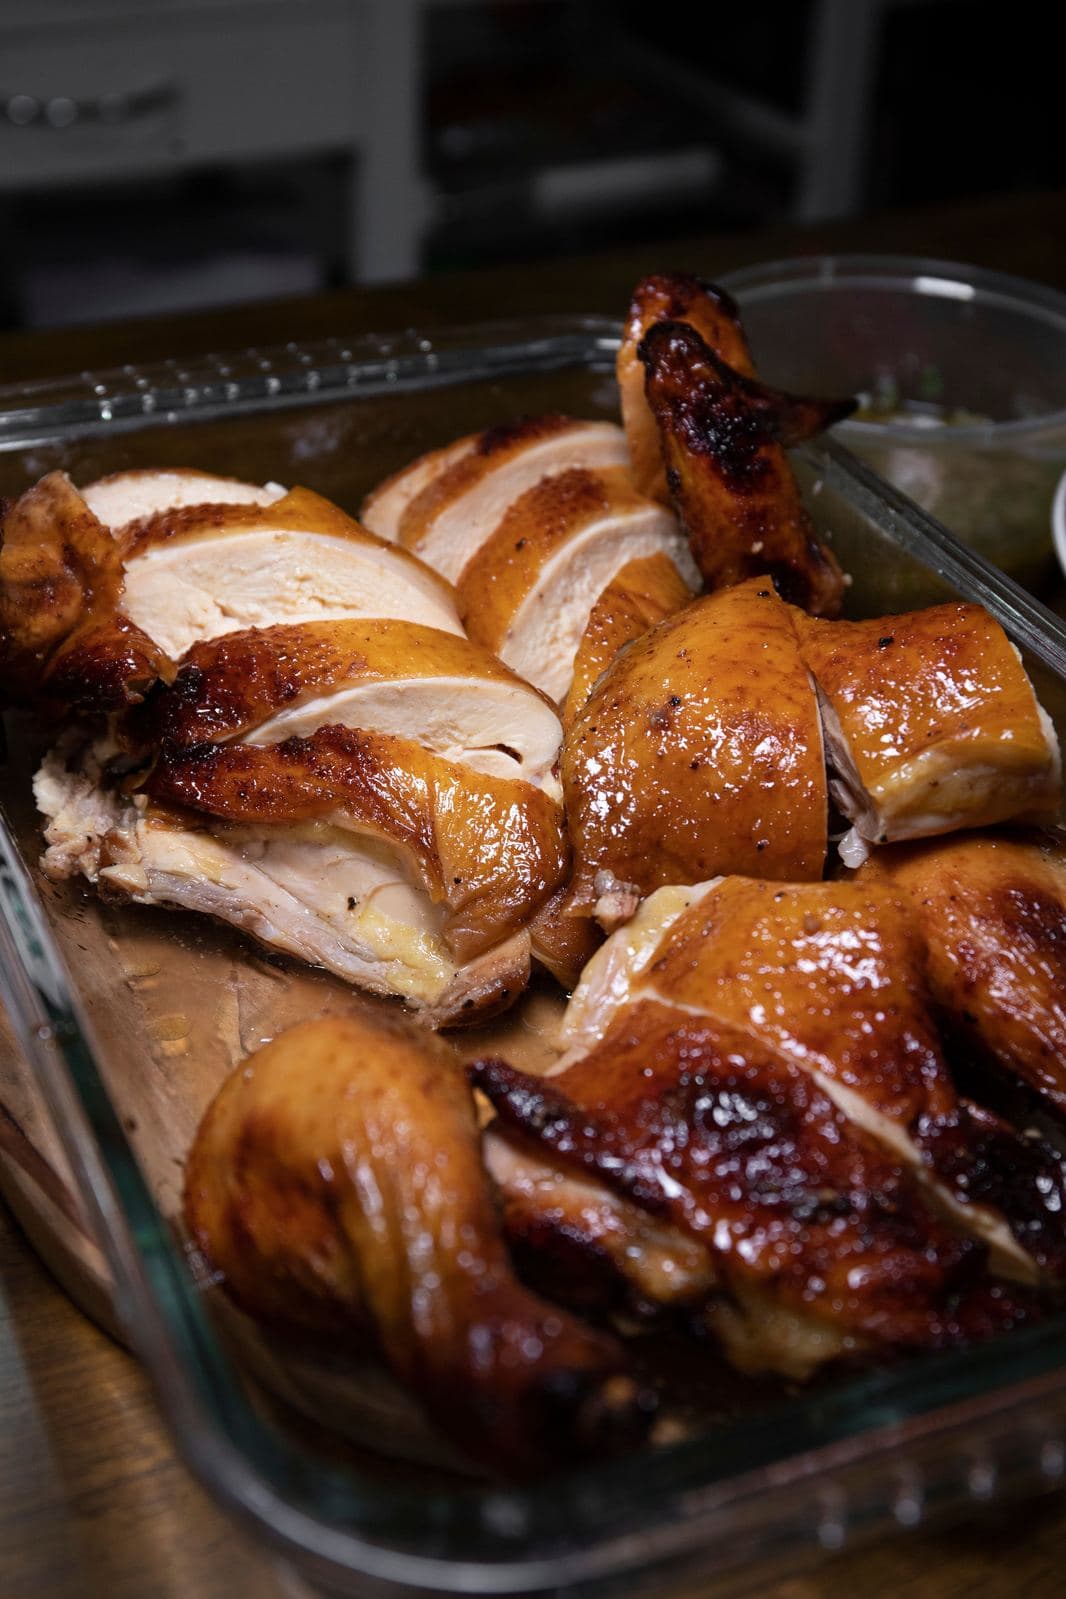
Juicy Oven-Roasted Chicken
A whole chicken double-marinated in a yogurt, soy and chili-sauce blend, then roasted until golden and crispy, with deep cuts that let the marinade reach every part of the bird.
- Prep
- 20 min
- Cook
- 1 hr 15 min
- Level
- Medium
 Chicken
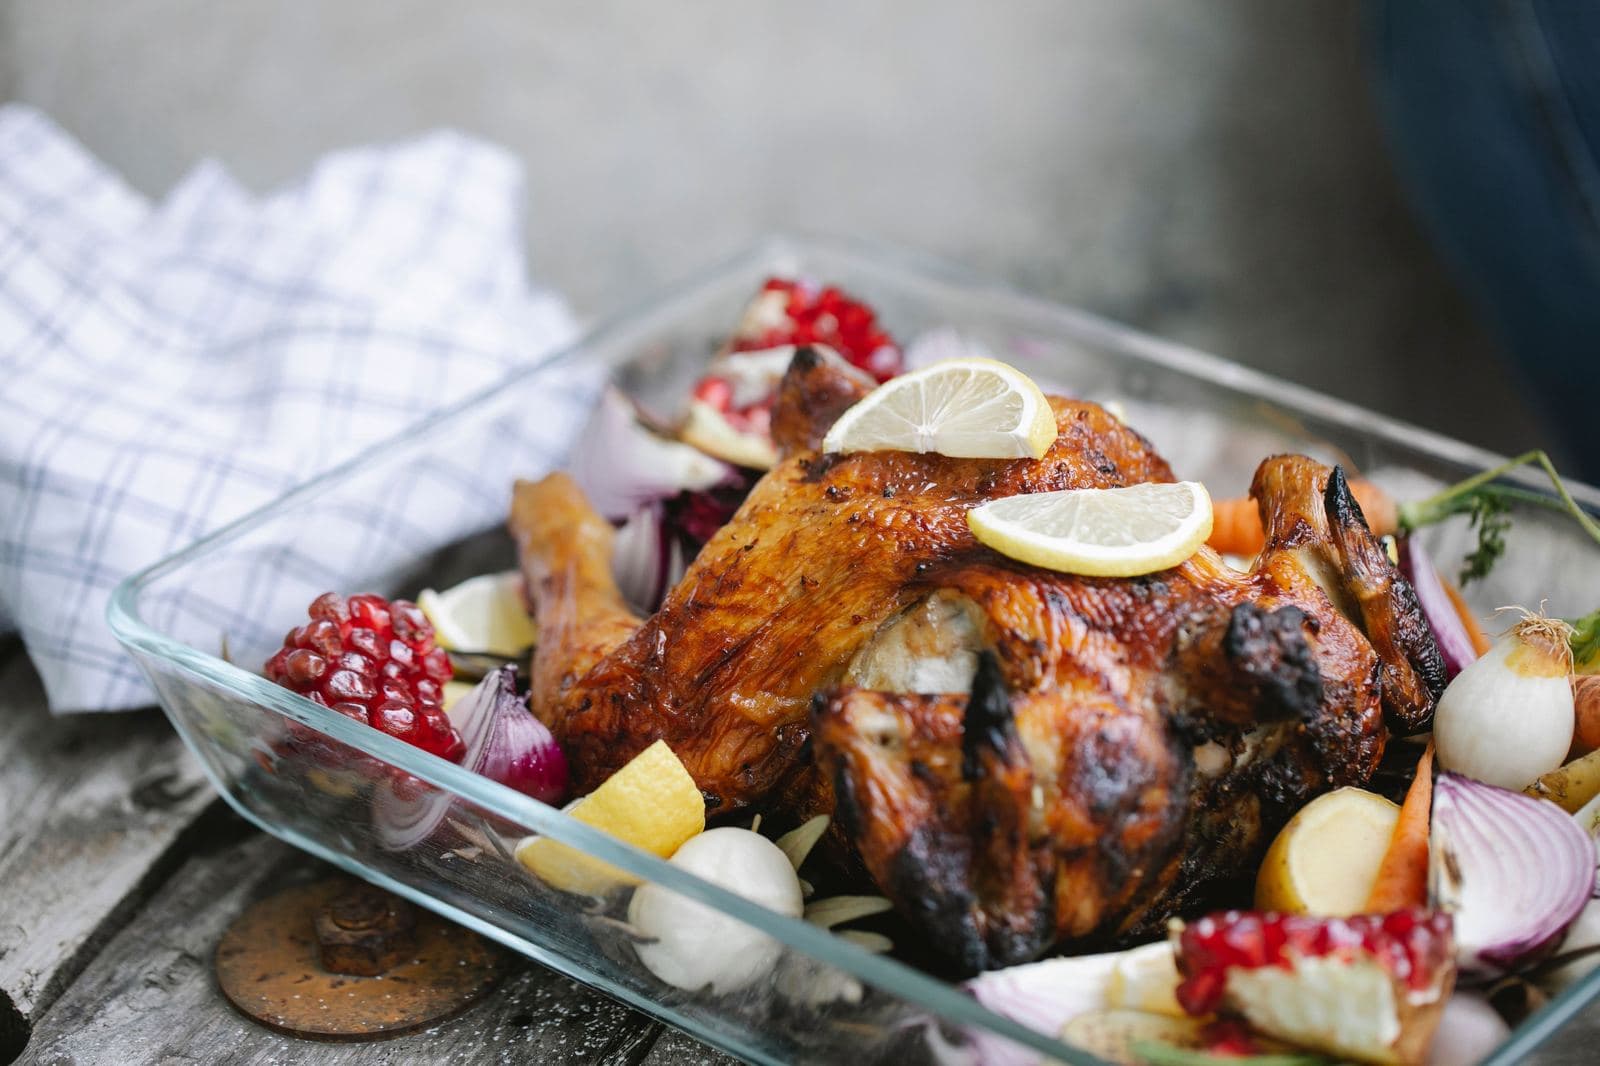
Cheesy Herb Roasted Chicken with Orange Pomegranate Juice
A whole chicken rubbed under the skin with cheese, herbs and ginger-garlic paste, then roasted until golden and served with a fresh orange-pomegranate juice.
- Prep
- 20 min
- Cook
- 1 hr 15 min
- Level
- Medium
 Chicken
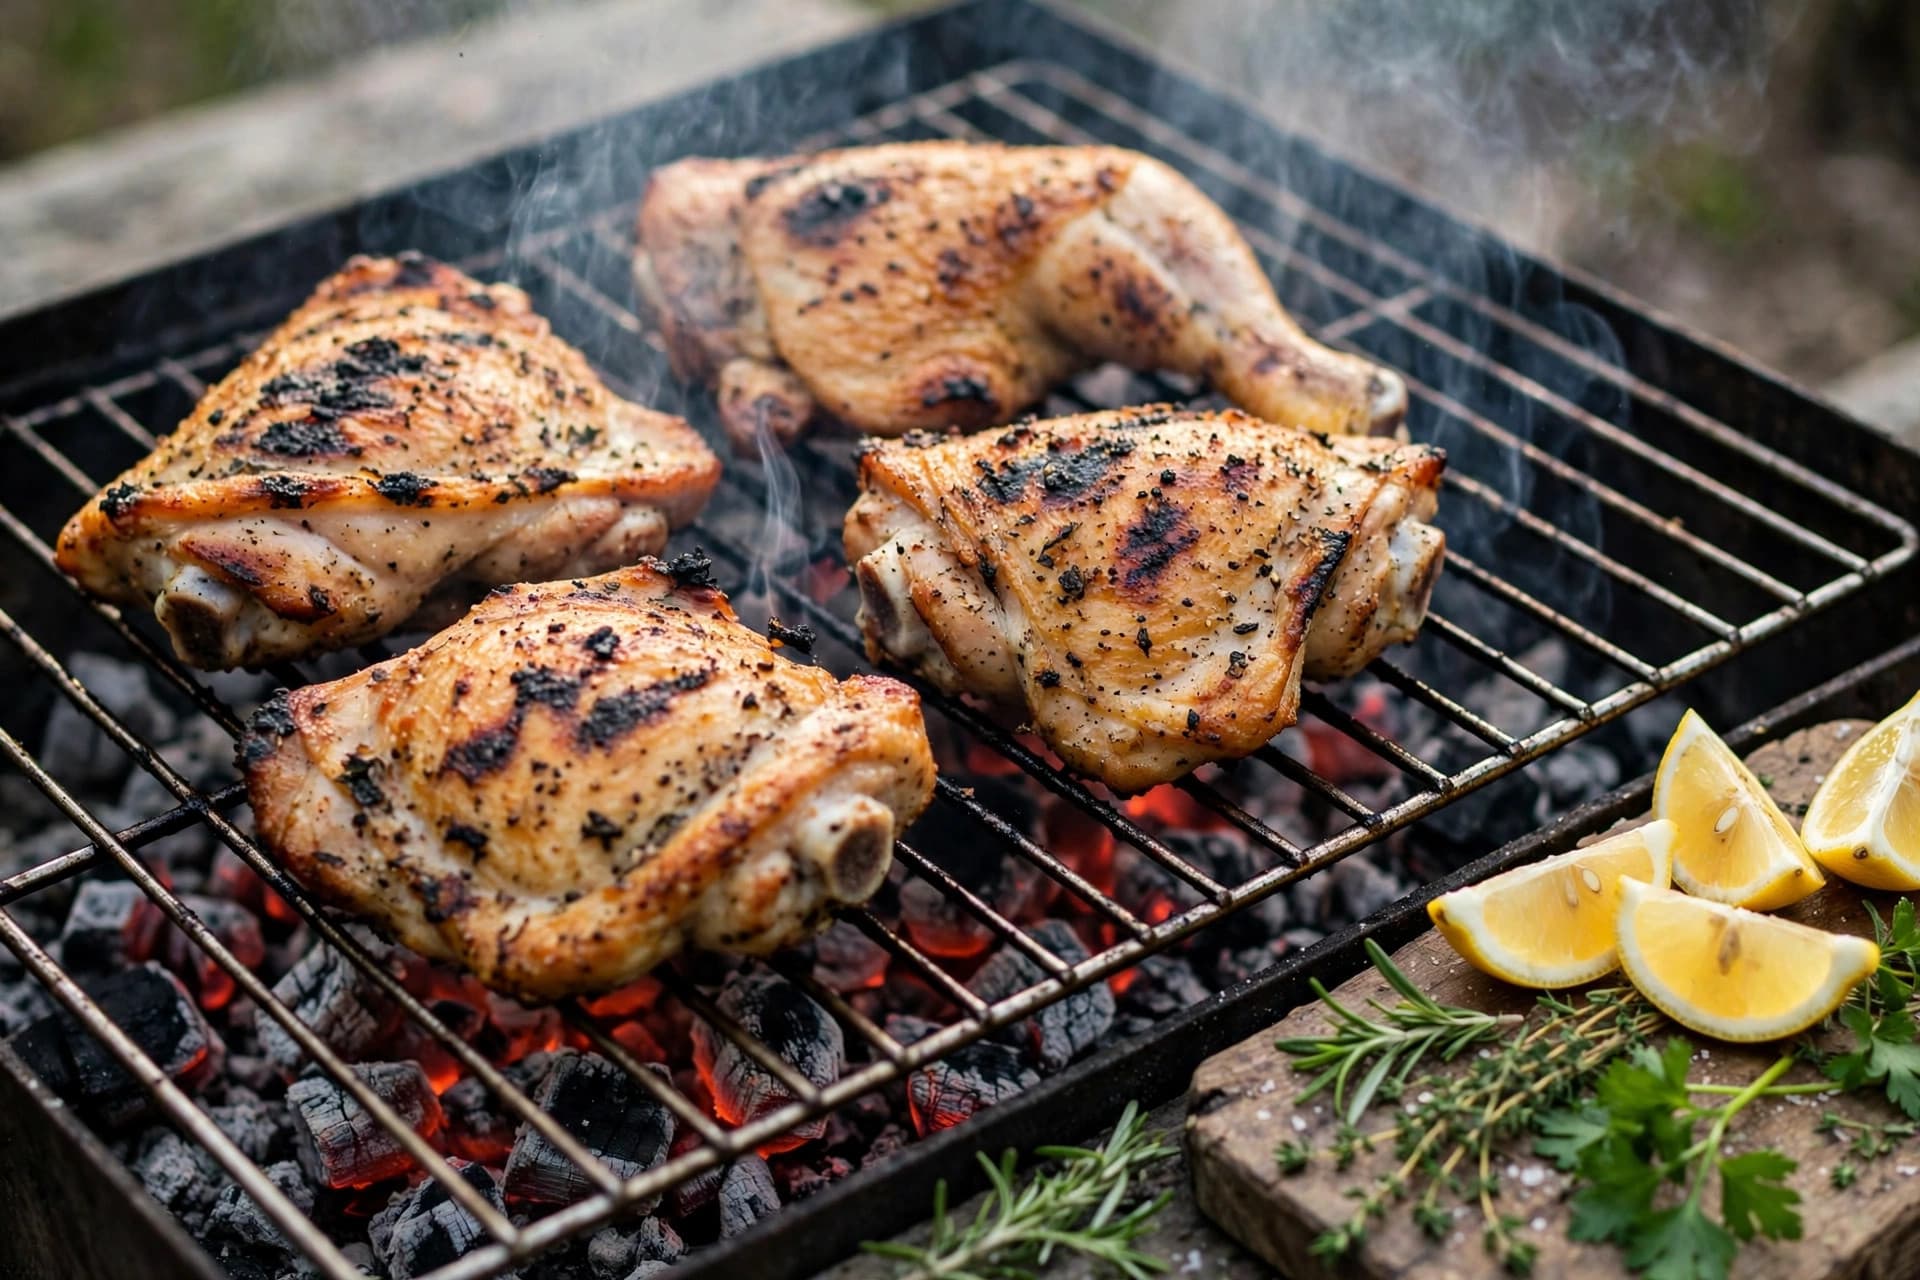
Fire-Grilled Lemon Herb Chicken Thighs
Bone-in chicken thighs grilled over charcoal with lemon, garlic and herbs — smoky skin, juicy meat, and a simple pan sauce.
- Prep
- 20 min
- Cook
- 15 min
- Level
- Easy
 Chicken
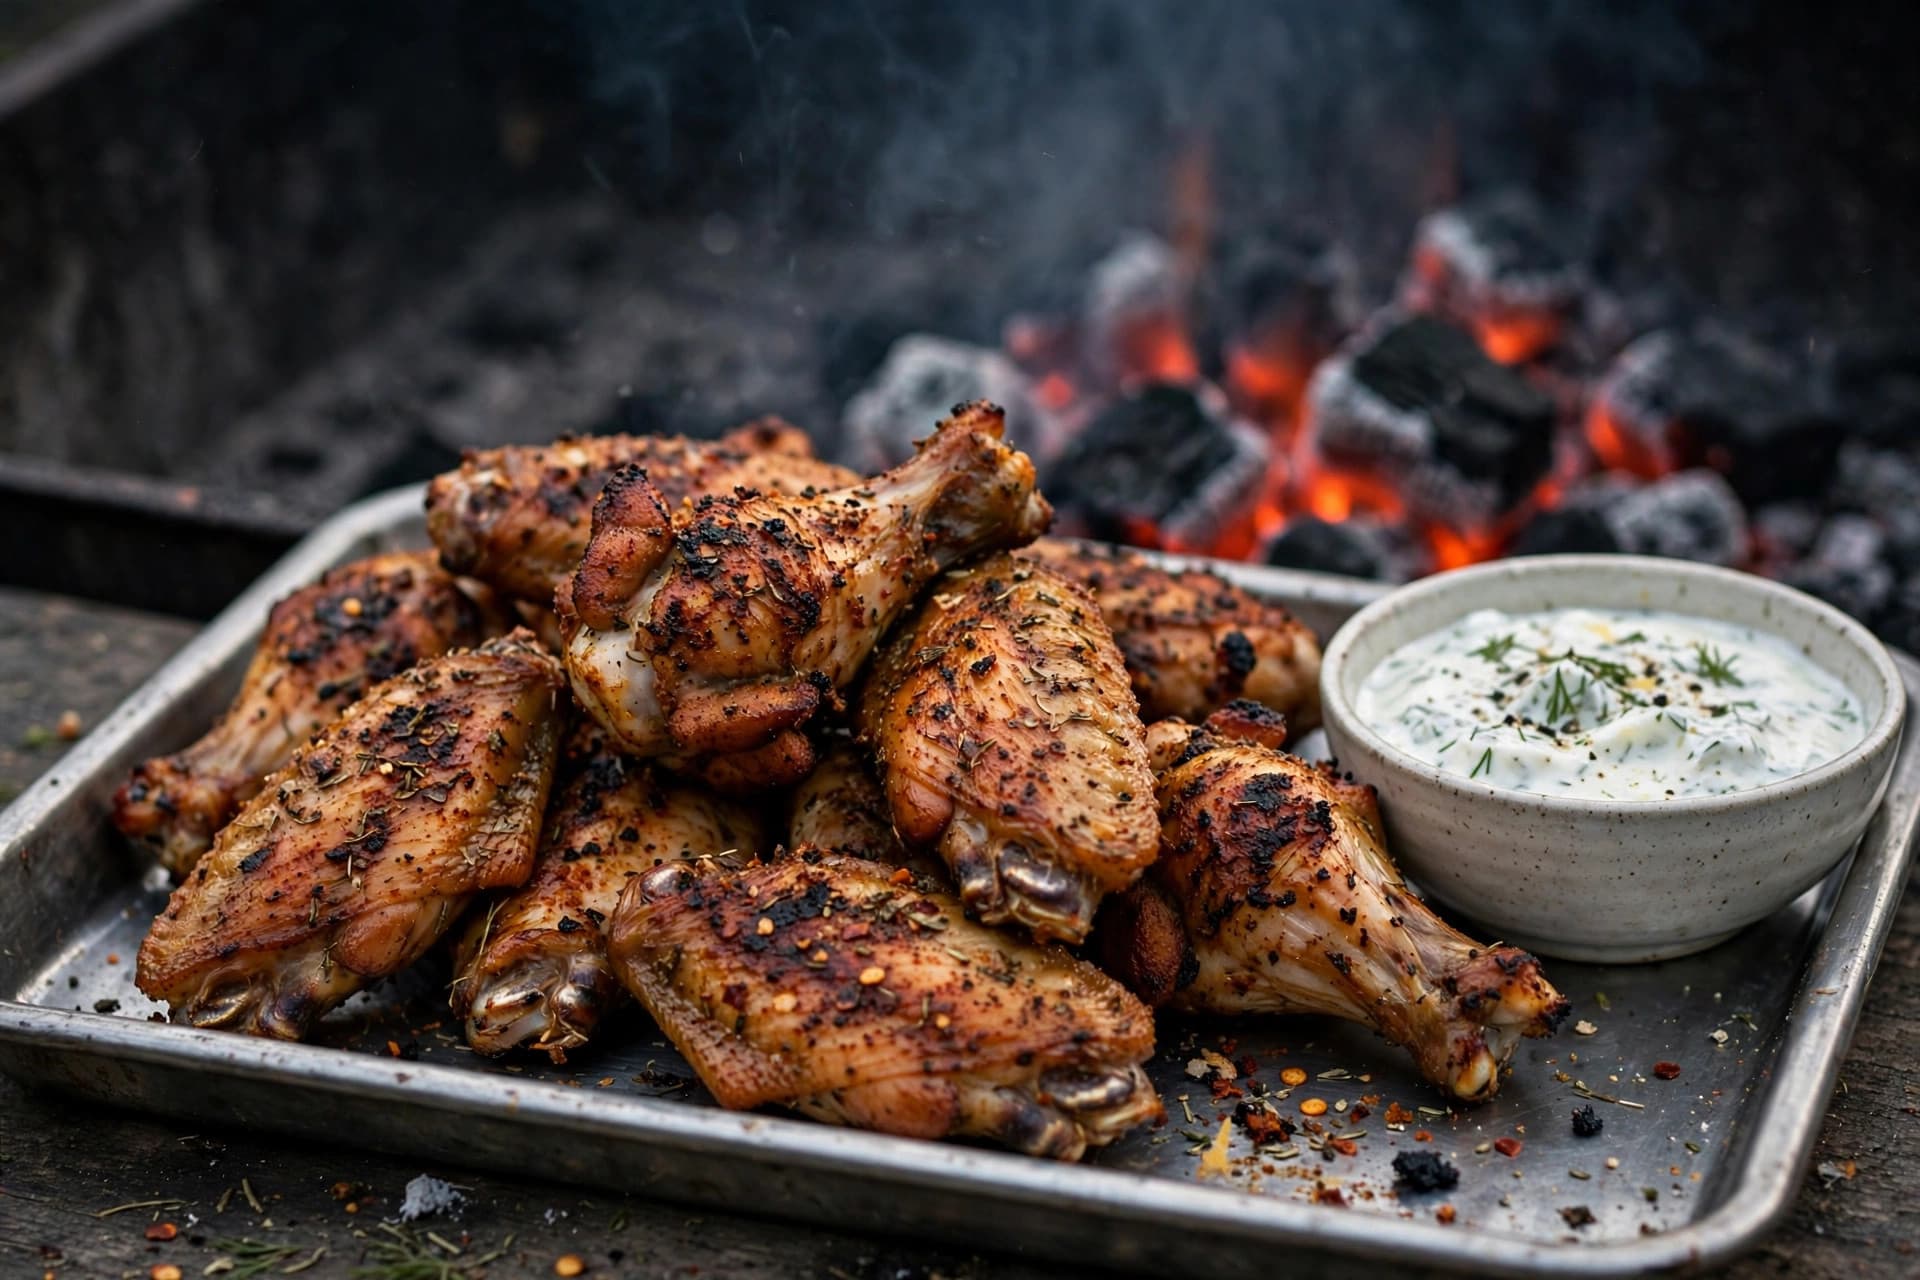
Coal-Roasted Chicken Wings with Smoky Dry Rub
Chicken wings coated in a smoky spice rub and roasted over hot coals until crisp, served with a cool yogurt dip.
- Prep
- 20 min
- Cook
- 35 min
- Level
- Easy
Related articles
 Cooking Tips
Whole Chicken Cooked Under Hot Coals with Melted Cheese
Foil, charcoal and patience turn a whole chicken smoky and tender, finished with melted cheese.
· 5 min read
 Guides
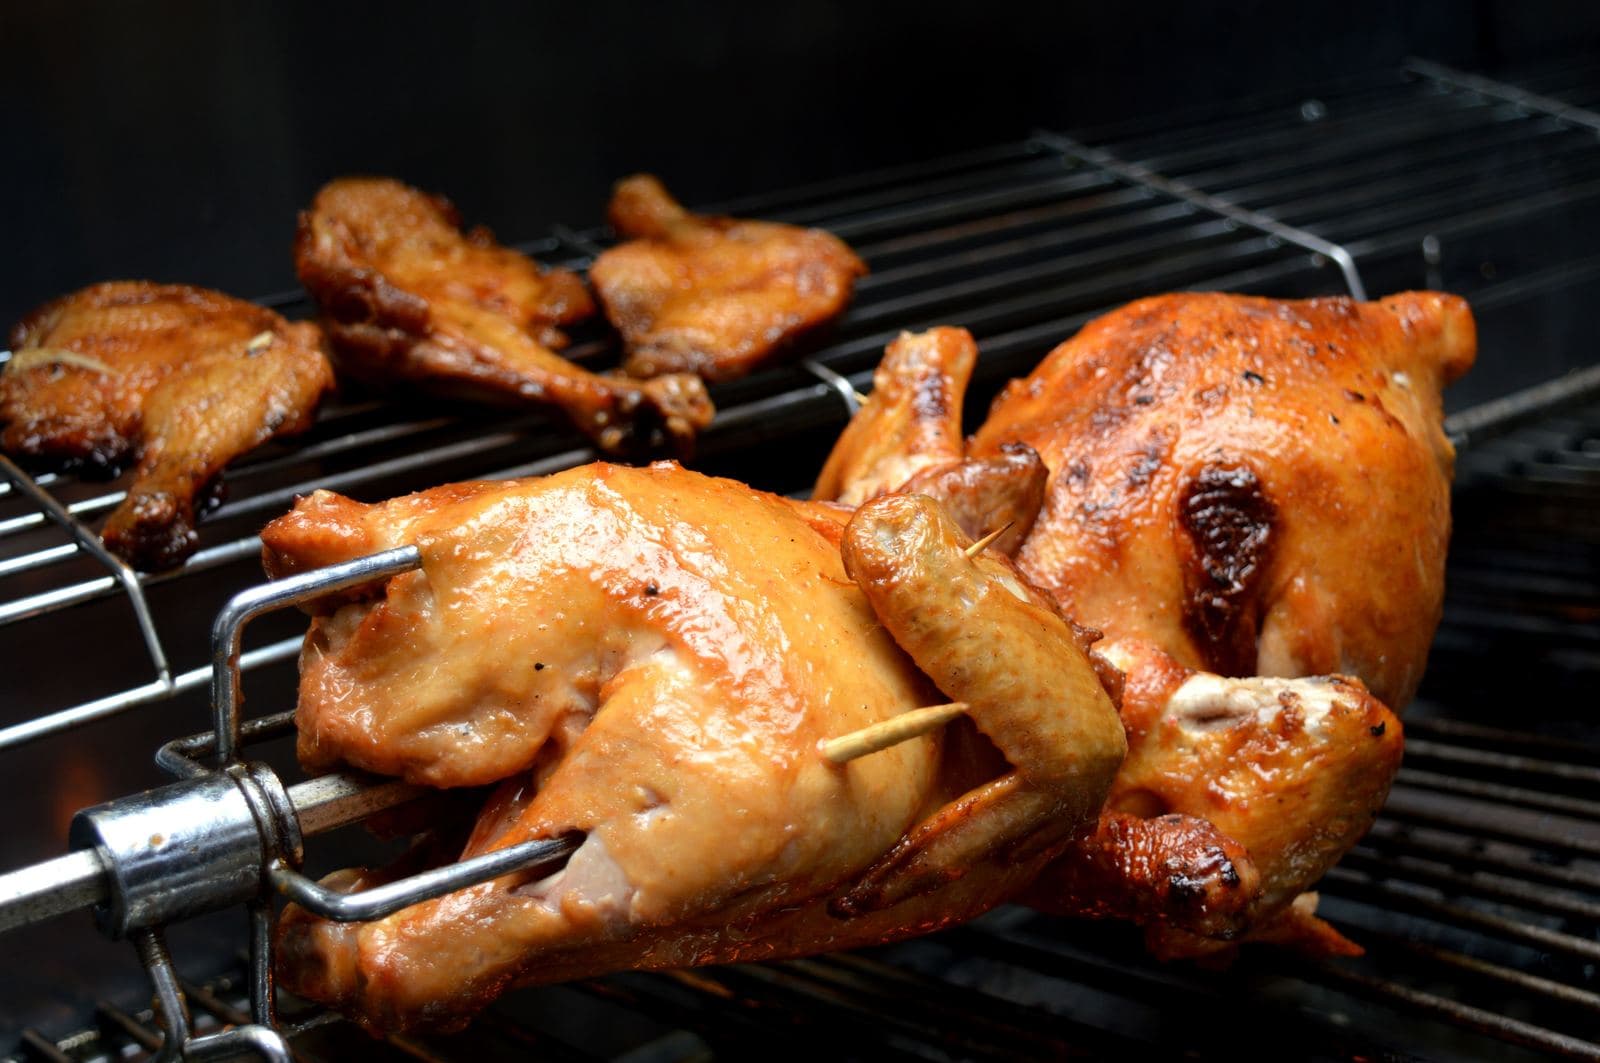
A Guide to Roasting a Whole Chicken
Getting a whole chicken juicy from breast to thigh, with three different methods.
· 4 min read