Tex-Mex Cheesy Pizza
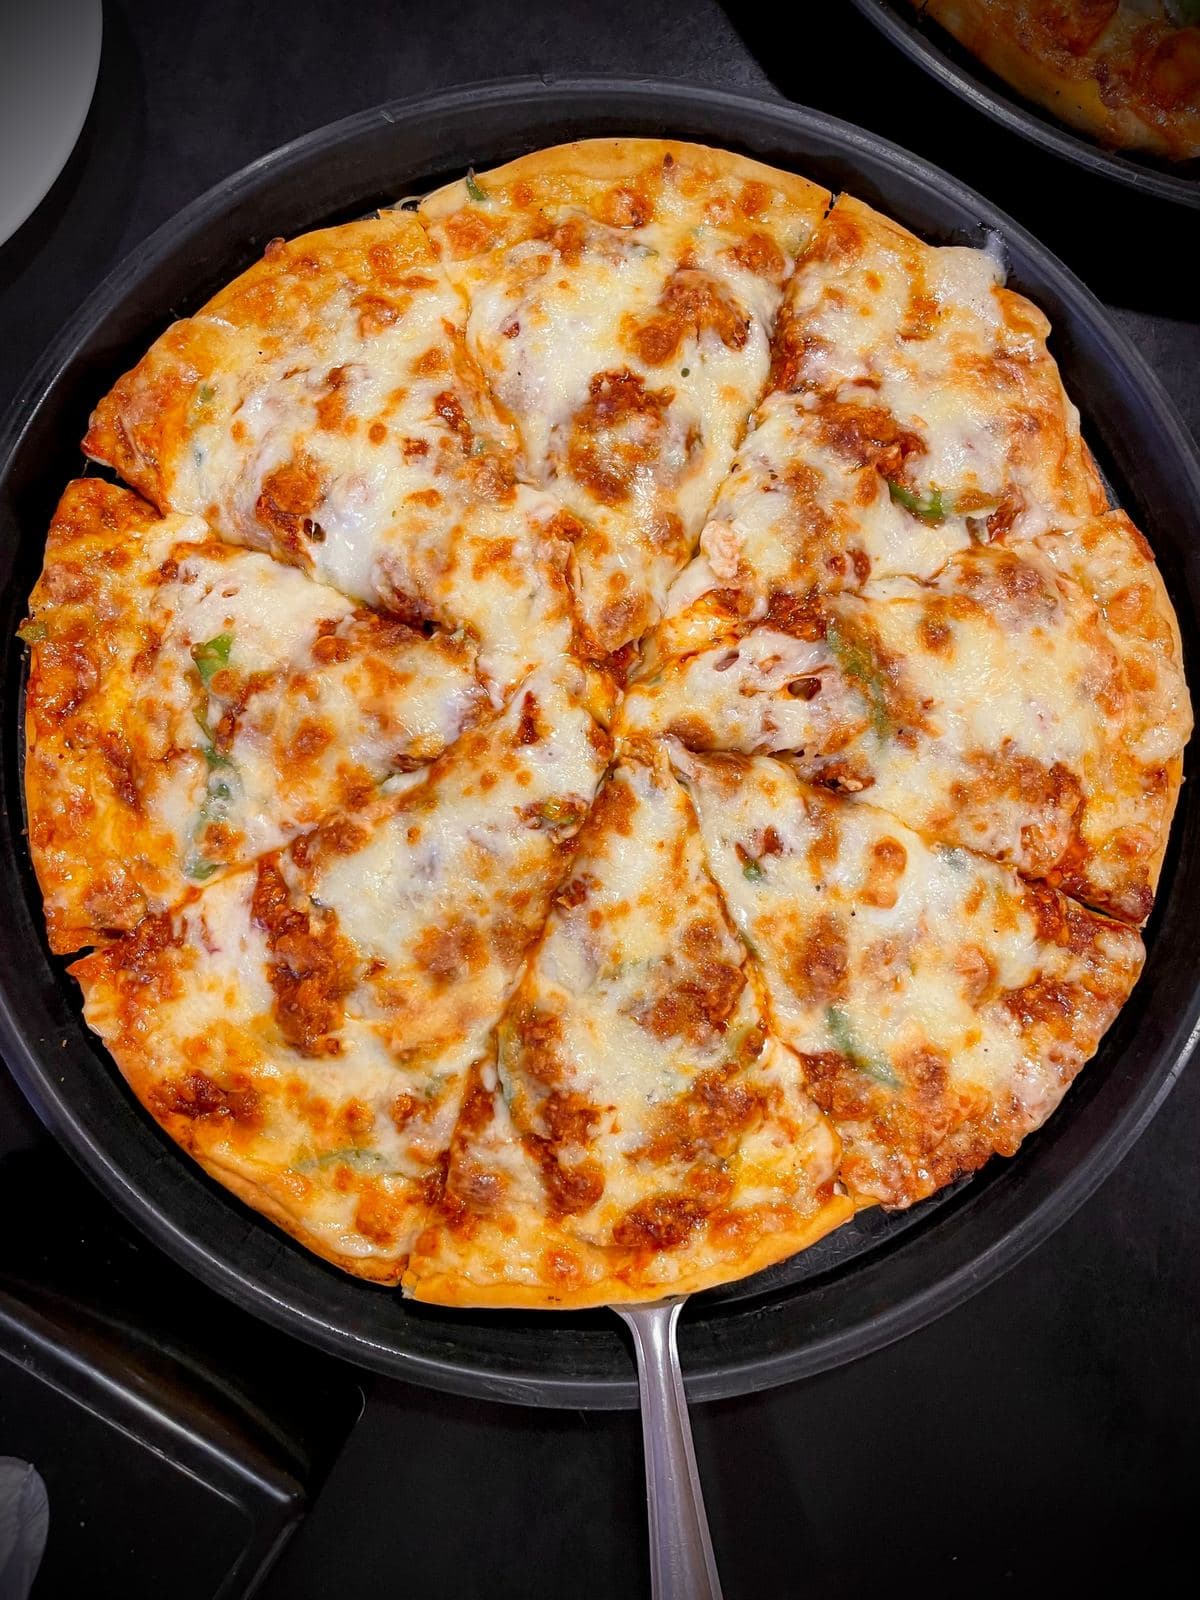
A double-cheese pizza loaded with seasoned chicken, sweet corn, black beans, jalapeños and peppers, baked hot until the crust is golden and the cheese pulls in long, stretchy strings.
By Steak House Diaries Kitchen Desk | Published | Updated
About this recipe
Double-cheese Tex-Mex pizza with chicken, corn, black beans and jalapeños.
It falls under our Pizza collection and is tagged pizza, tex-mex, chicken, cheese. Read the tips and substitutions below the recipe card before you start, and scan the ingredients first so nothing surprises you mid-cook.
Tex-Mex Cheesy Pizza
https://www.steakhousediaries.com/recipes/tex-mex-cheesy-pizza
- Prep
- 20 min
- Cook
- 15 min
- Total
- 35 min
- Servings
- 1 medium pizza, serves 3 to 4
- Difficulty
- Easy
Ingredients
- 1 medium pizza dough
- 3 to 4 tablespoons pizza or tomato sauce
- 1½ to 2 cups mozzarella cheese
- ½ cup cooked seasoned chicken, cut into small pieces
- ¼ cup sweet corn
- ¼ cup black beans
- 2 to 3 tablespoons sliced jalapeños
- ¼ cup diced red and green bell peppers
- ½ teaspoon black pepper
- ½ teaspoon paprika or chili powder
- Salt, to taste
- 1 teaspoon olive oil
Equipment
- Pizza tray
- Pizza cutter
- Oven
Instructions
Step 1: Prepare the chicken
Season the chicken with salt, black pepper and paprika or chili powder. Cook until fully done, then cut into small pieces.
Step 2: Prepare the dough
Place the pizza dough on a lightly floured surface and stretch it into a round pizza shape.
Step 3: Add the sauce
Transfer the dough to a pizza tray and spread the tomato or pizza sauce evenly over the surface.
Step 4: Add cheese
Cover the sauce with a generous layer of mozzarella cheese.
Step 5: Add Tex-Mex toppings
Spread the cooked chicken, sweet corn, black beans, jalapeños and diced red and green bell peppers evenly over the pizza.
Step 6: Extra cheese
Add another generous layer of mozzarella on top for an extra-cheesy pizza and a long cheese pull.
Step 7: Bake
Preheat the oven to 220°C (425°F). Bake for approximately 10 to 15 minutes, or until the crust is golden and the cheese is melted, bubbling and slightly browned.
Step 8: Slice
Remove the pizza from the oven and let it rest for 1 to 2 minutes, then slice it with a pizza cutter.
Step 9: Serve
Serve immediately while hot and cheesy.
Step 10: Why a hot, fast bake and pre-cooked toppings make this pizza work
This pizza bakes in only 10 to 15 minutes, and that short bake is exactly why every topping is cooked before it goes on. A pizza oven window that brief is enough to melt cheese, crisp a crust and warm toppings through, but it is not enough to cook raw chicken or raw vegetables safely and evenly. So the recipe cooks the seasoned chicken first, cuts it small, and spreads it with sweet corn, black beans, jalapeños and diced peppers over the sauce and cheese. By the time the pizza goes into the oven at 220°C (425°F), everything on top is already cooked, and the bake only has to finish the job: brown the crust, bubble the cheese and bring the whole thing together. The heat itself does specific work. At 220°C (425°F), the crust sets and turns golden quickly instead of drying out during a long, slow bake, and the cheese melts fully and starts to brown at the edges. That is also why the recipe uses two layers of mozzarella rather than one thick blanket on top. The first layer goes directly on the sauce and acts as glue: it holds the chicken, corn, beans and peppers in place so they do not slide when you slice. The second layer goes over the toppings and melts down around them, which is what gives the long, stretchy cheese pull when you lift a slice. Using low-moisture mozzarella, as the tips suggest, matters here too. Fresh mozzarella releases a lot of water as it melts, and that water pools on the pizza and softens the crust; low-moisture mozzarella melts cleanly and stays stretchy. The last detail is the short rest. One to 2 minutes out of the oven feels like nothing, but it lets the cheese set just enough that slices hold their shape instead of sliding apart, while the pizza is still hot and cheesy when served. If you assemble ahead, the recipe allows up to 2 hours refrigerated, and a cold pizza from the fridge simply needs a couple of extra minutes in the oven to make up for the chill — the same hot, fast bake, just slightly longer.
Cooking tips
- Pre-cook the chicken and vegetables; raw toppings won't cook through in the short bake time.
- For the best cheese pull, use a low-moisture mozzarella rather than fresh mozzarella, which releases more water.
Storage and reheating
Storage: Refrigerate leftover slices in an airtight container for up to 3 days.
Reheating: Reheat in a 375°F (190°C) oven for 6 to 8 minutes, or in a dry skillet over medium-low heat, covered, until the cheese re-melts.
Ingredient substitutions
- Use pinto beans in place of black beans, or leave beans out entirely for a simpler topping mix.
Nutrition information
Approximate values per serving, estimated from typical ingredient data. Results vary with brands and portions; this is not medical or dietary advice.
| Calories | 520 |
|---|---|
| Total fat | 24 g |
| Saturated fat | 11 g |
| Carbohydrates | 50 g |
| Fiber | 3 g |
| Sugar | 6 g |
| Protein | 26 g |
| Sodium | 980 mg |
Frequently asked questions
Can I make this ahead and bake it later?
You can assemble the pizza up to 2 hours ahead and refrigerate it, uncovered toppings side up, then bake straight from the fridge, adding a couple of extra minutes to the bake time.
What if I don't have a pizza stone?
A regular pizza tray or a baking sheet works fine; just preheat it in the oven for a few minutes before adding the dough for a crisper base.
Why does this pizza bake at 220°C (425°F) instead of a lower temperature?
The high heat crisps the crust quickly and melts the cheese fully in a short bake. A cooler oven would take longer, dry the crust out, and leave the cheese pale instead of bubbling and slightly browned.
Why two layers of cheese instead of one thick layer on top?
The first layer sits on the sauce and holds the toppings in place, while the second layer melts over the toppings and creates the stretchy cheese pull. One layer on top alone would slide off with the toppings when you slice.
Related recipes
 Chicken
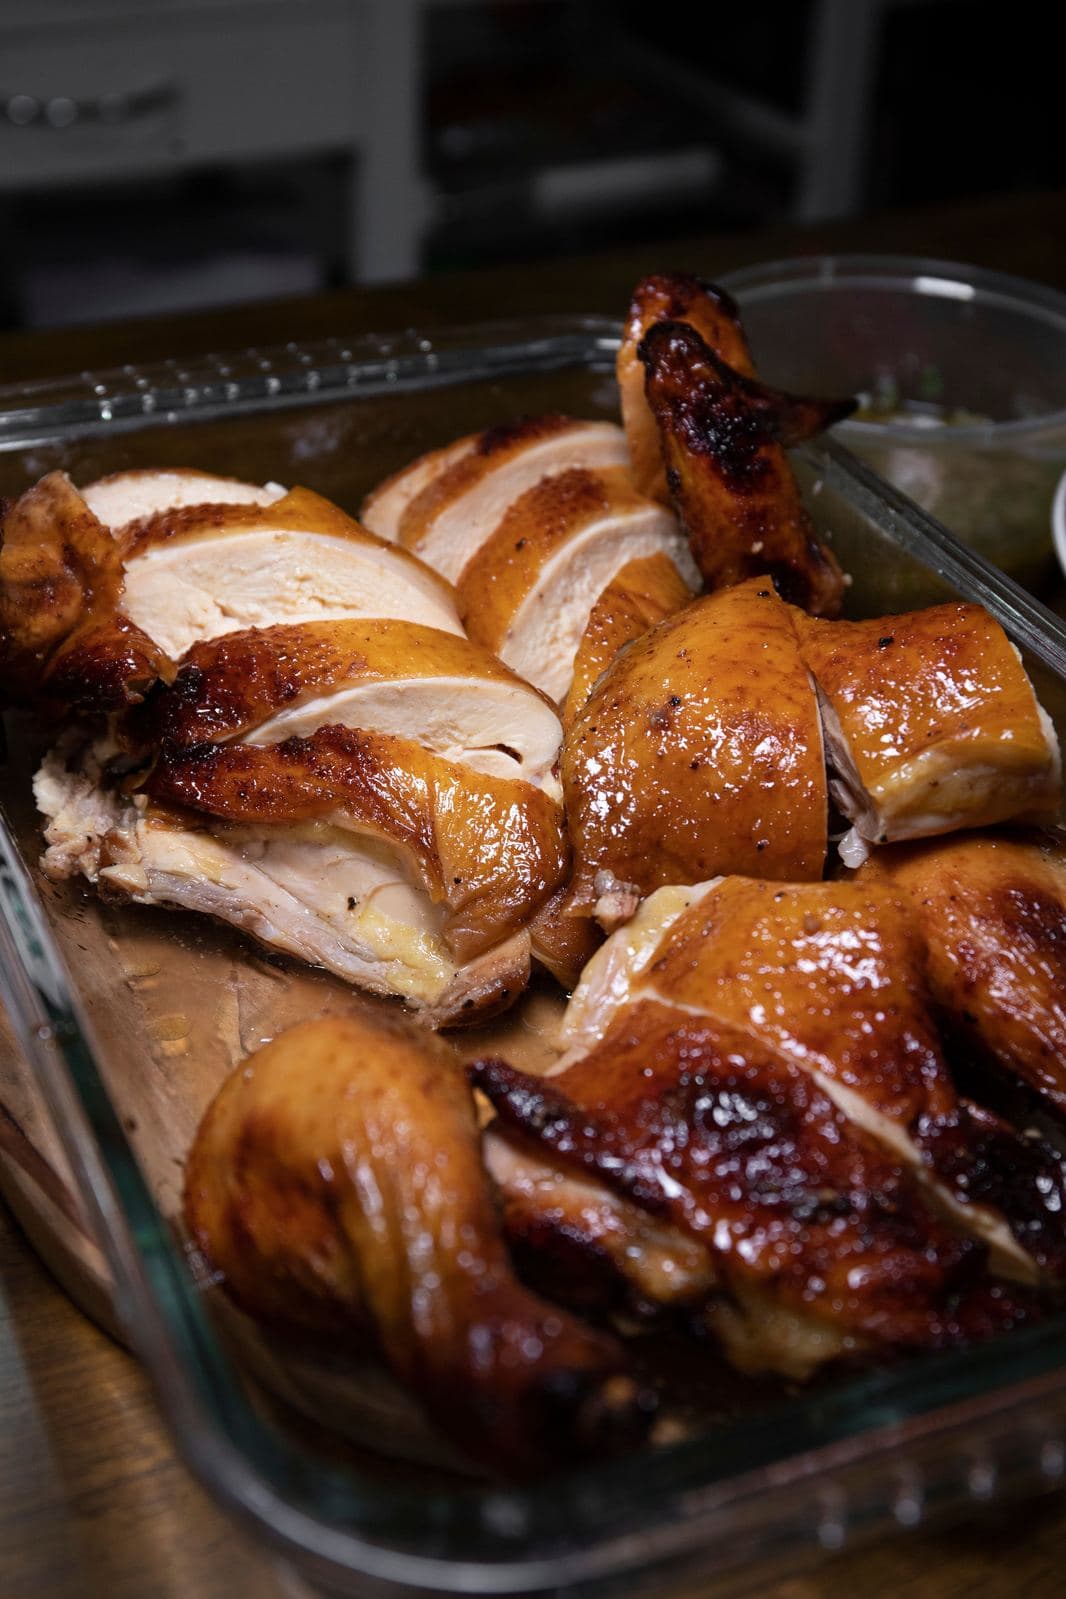
Juicy Oven-Roasted Chicken
A whole chicken double-marinated in a yogurt, soy and chili-sauce blend, then roasted until golden and crispy, with deep cuts that let the marinade reach every part of the bird.
- Prep
- 20 min
- Cook
- 1 hr 15 min
- Level
- Medium
 Chicken
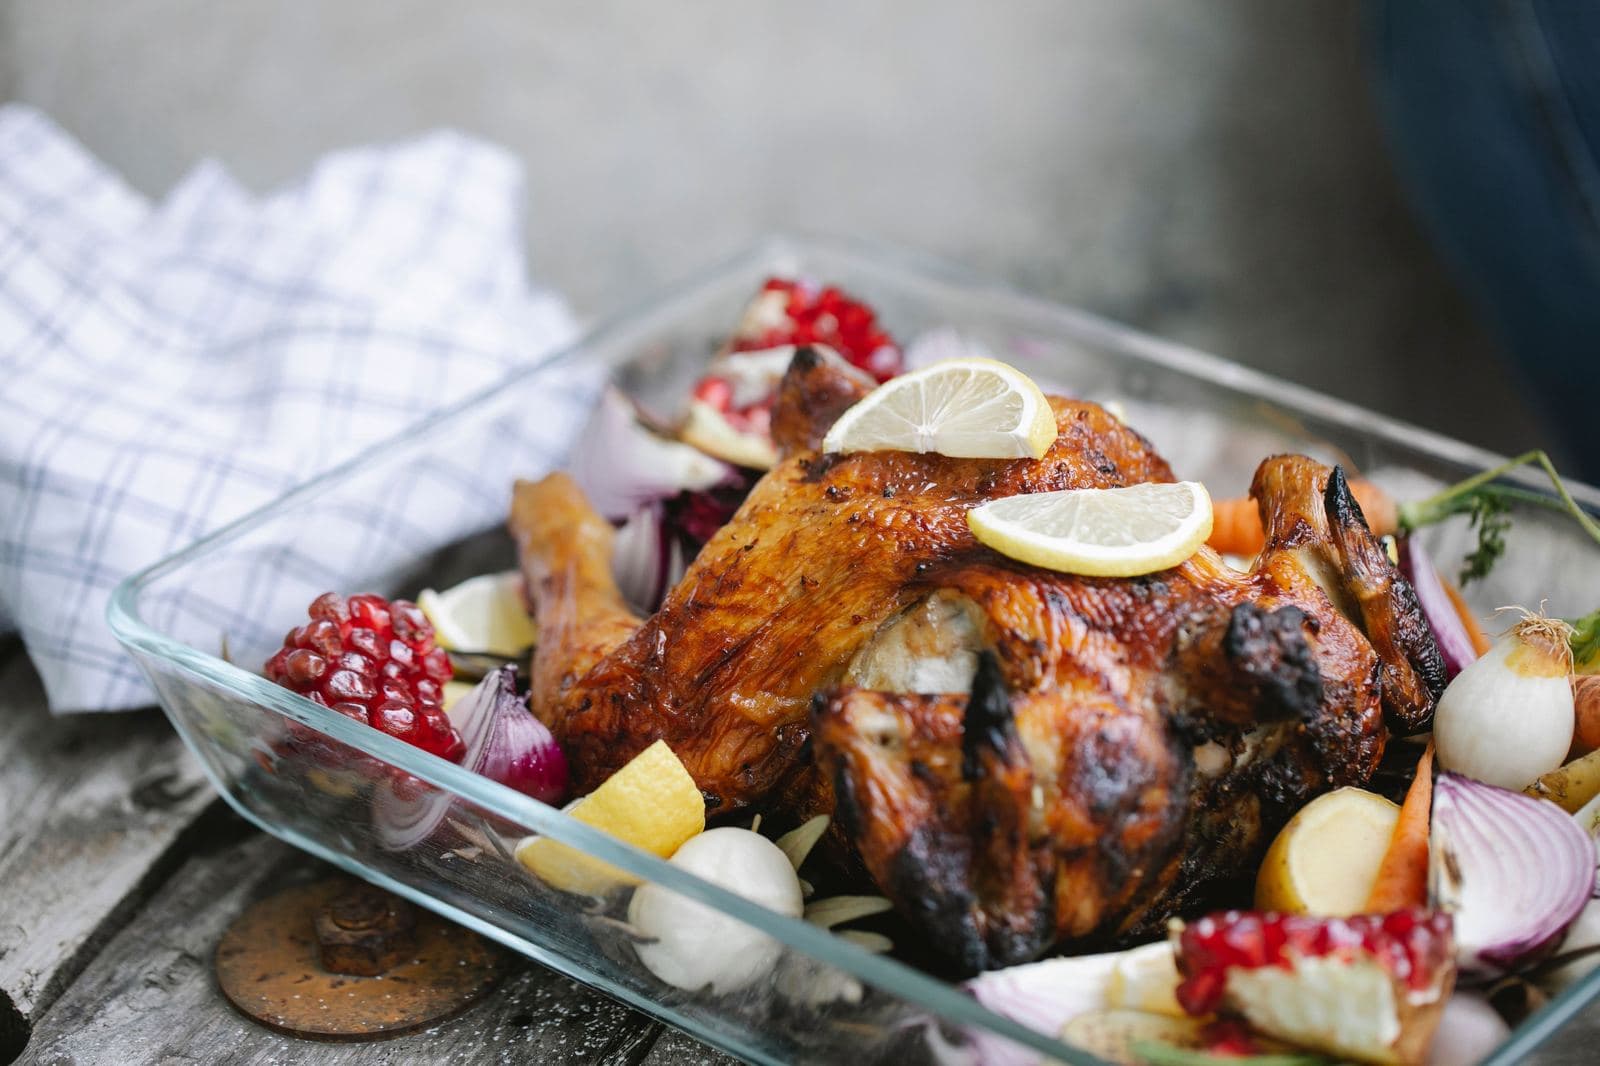
Cheesy Herb Roasted Chicken with Orange Pomegranate Juice
A whole chicken rubbed under the skin with cheese, herbs and ginger-garlic paste, then roasted until golden and served with a fresh orange-pomegranate juice.
- Prep
- 20 min
- Cook
- 1 hr 15 min
- Level
- Medium
 Pizza
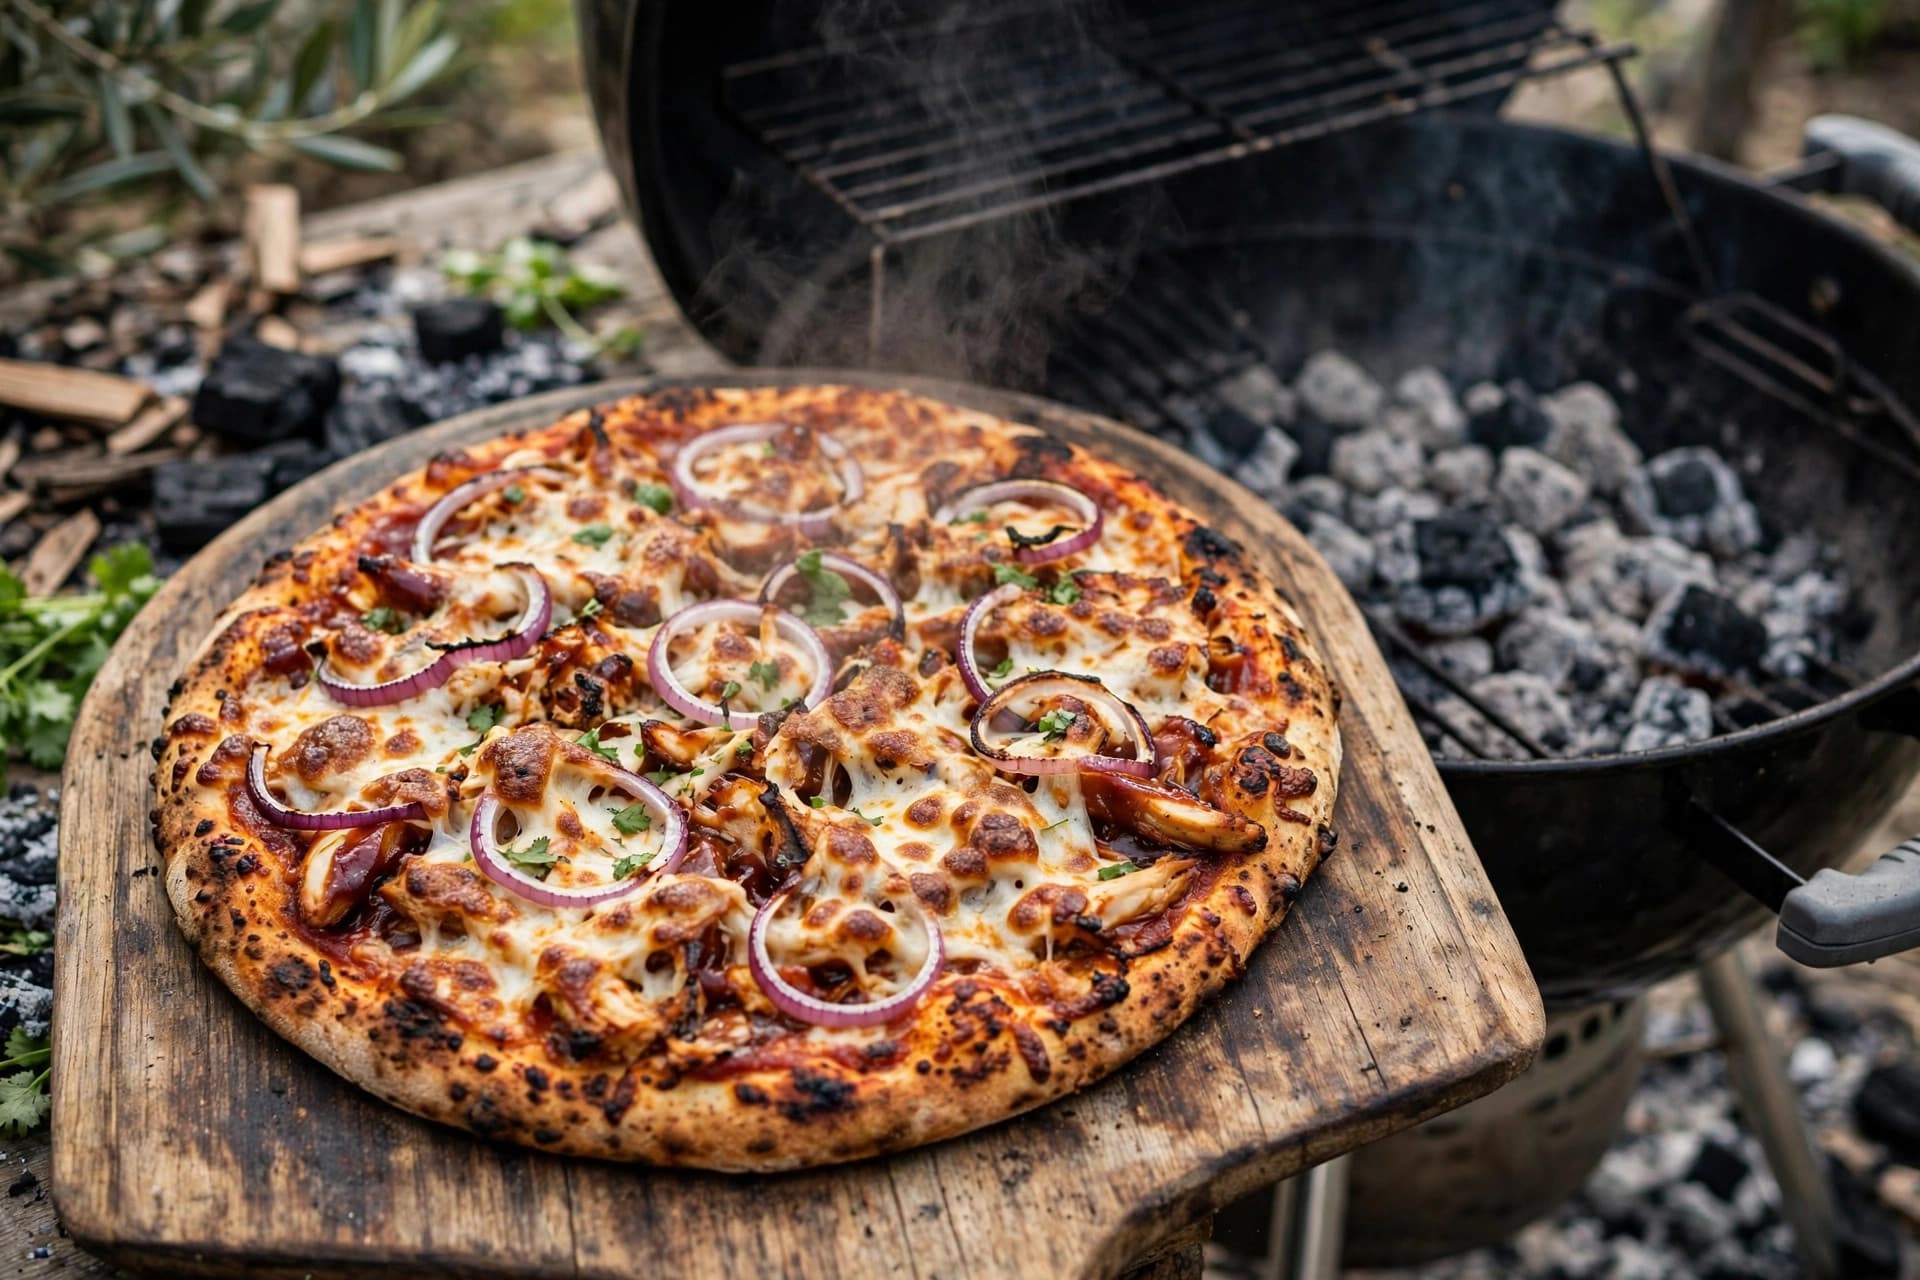
BBQ Chicken Fire-Grilled Pizza
A fire-grilled pizza topped with smoky barbecue chicken, red onion and melted cheese, baked fast over hot coals.
- Prep
- 20 min
- Cook
- 10 min
- Level
- Medium